Web Integration
Overview
Web integration represents the most straightforward method for incorporating the Onramper widget into your website. This approach ensures seamless integration, offering a range of features such as theming, localization, and extensive customization options.
Initial Setup and Load
- Default Data Loading: Upon initial loading, the widget automatically populates with default data. This data selection is based on the end-user's geographic location (GEO) and any customizations you have provided.
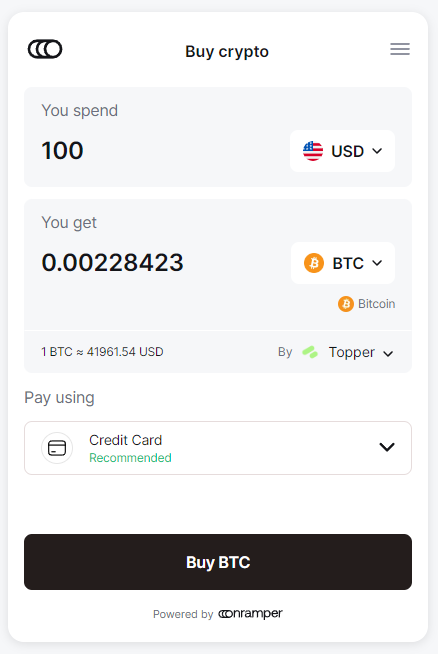
Default data loading for an end-user from the USA
- Customization Support: The widget supports a wide array of customizations, allowing it to seamlessly blend with your website's design and user experience.
-
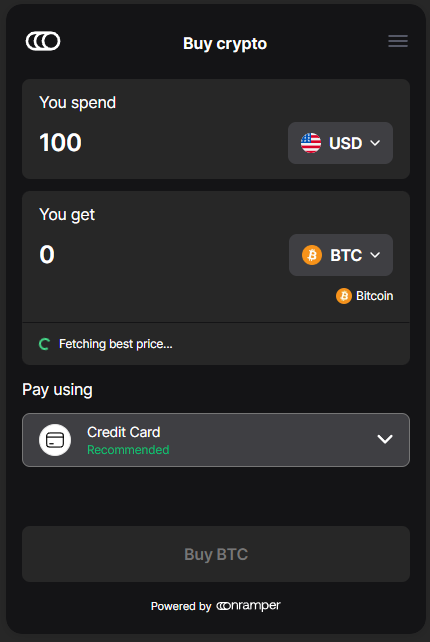
Dark Theme of the Onramper widget
User Interaction Flow
Currency and Payment Selection: Users have the flexibility to select their source and target currencies, along with the desired amount and payment method.

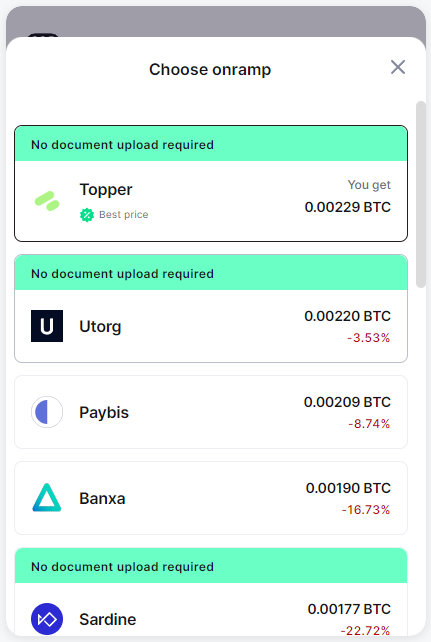
Provider Quotes: The Onramper widget retrieves quotes from all enabled Onramp providers, presenting a comprehensive list of options to the user.
Provider Selection and Recommendations: Users can select their preferred onramp provider to proceed with the transaction. Onramper assists this decision-making process by providing helpful recommendations and labels, which are generated based on a variety of factors and data insights.
Transaction Processing
Integration with Provider's System: Depending on the chosen provider, the Onramper widget facilitates the transaction through the provider's widget, which can be either an embedded iframe or a redirect URL.
Transaction Completion: Users complete the transaction within the provider's system, ensuring a smooth and uninterrupted process.
Post-Transaction Communication
Webhooks for Transaction States: Onramper ensures continuous communication regarding the transaction's progress. For each transaction, it sends webhooks to a pre-configured URL, detailing various states of the transaction.
Integration Steps for Onramper Widget Web Integration
Step 1: Obtain API Key and Set Up Webhook URL
Contact Sales Team: Reach out to our sales team to acquire an API key, which is essential for integrating the Onramper widget into your website.
Setup Webhook URL: During this interaction, you'll also set up a webhook URL. This URL is crucial for receiving notifications about the different stages of the transactions processed through the widget. And make sure to store the given secret key securely and use it to validate the webhook payloads.
Step 2: Customize Widget URL
Use URL Configurator: Leverage our URL Configurator to customize your widget URL. This step ensures that the widget aligns with your specific integration requirements and preferences.
Step 3: Update Theming
Theme Configurator: Utilize our Theme Configurator to update the widget's theme. This customization ensures that the widget's aesthetics match your website's design, providing a seamless user experience.
Step 4: Add the Iframe
Embed Configured URL: Finally, embed the configured URL into an iframe on your website. This iframe will serve as the container for the Onramper widget, enabling users to interact with it directly on your platform.
  <iframe
    style="border-radius: 4px; border: 1px solid #58585f; margin: auto;max-width: 420px"
    src="https://buy.onramper.com?apiKey=<YOUR-API-KEY"
    height="630px"
    width="420px"
    title="Onramper widget"
    allow="accelerometer; autoplay; camera; gyroscope; payment">
  </iframe>
Updated 4 months ago